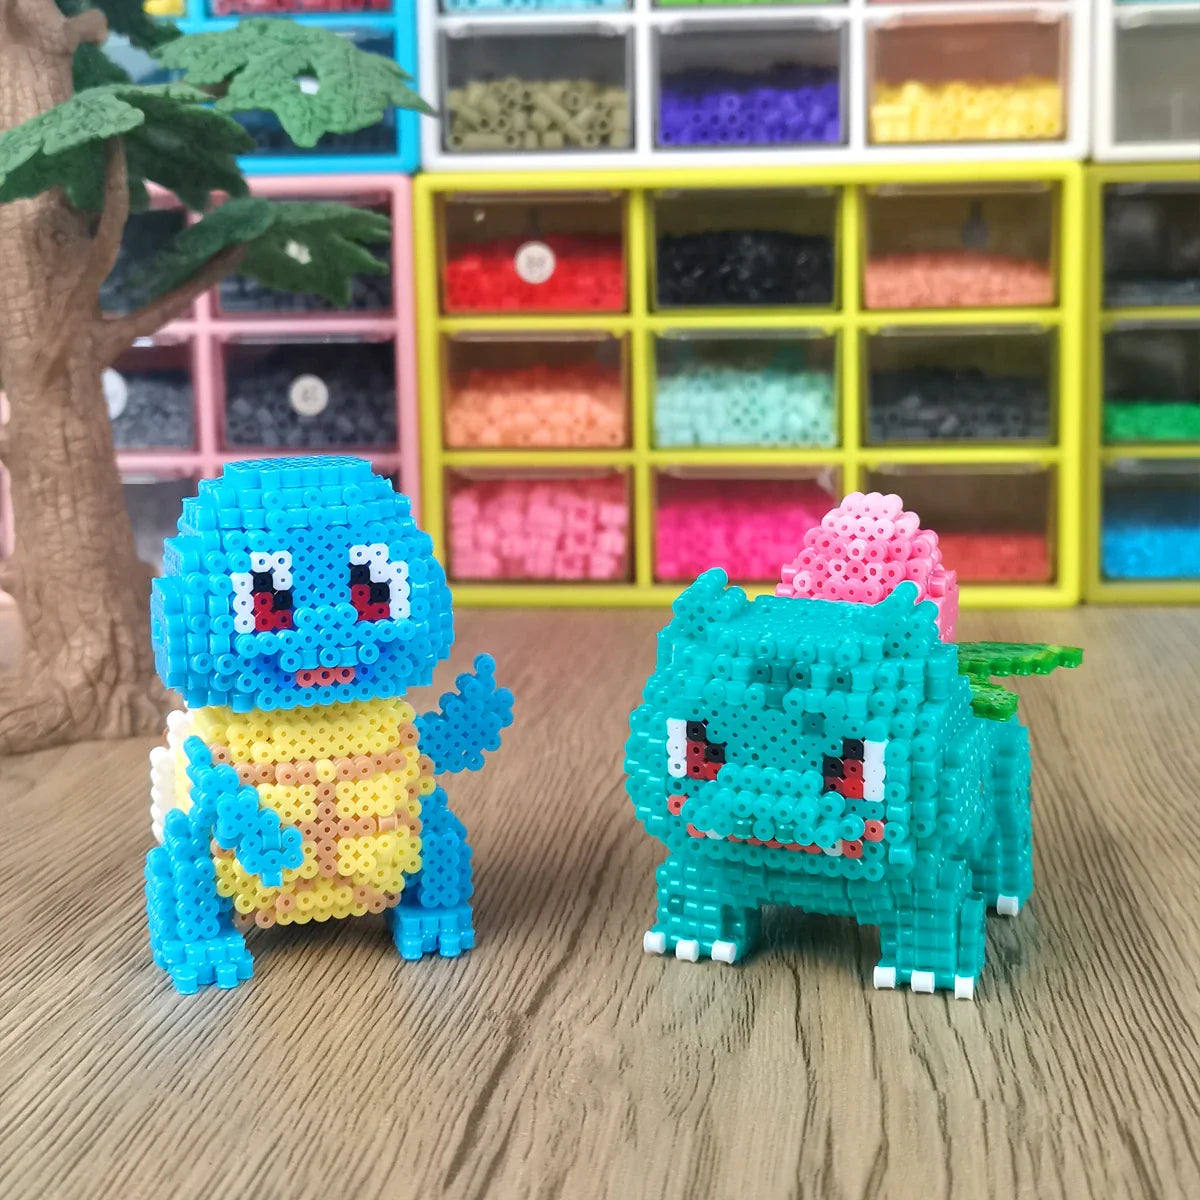
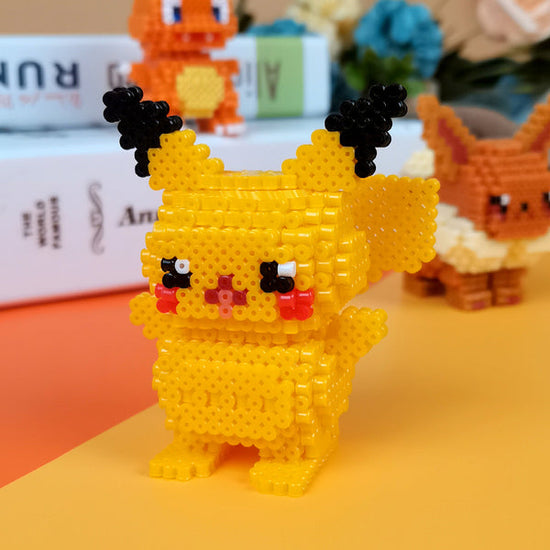
artkal fuse beads 3D pokemon Ivysaur Squirtle

Pokemon Series: 3D Ivysaur (GL2-0011) & Squirtle (GL2-0010)

3D Pokemon: Ivysaur & Squirtle

Squirtle: GL2-0010

Ivysaur: GL2-0011


Discover our Pokémon Art! 🌟🔥 🔥🎨 We've crafted 3D Ivysaur and Squirtle using Artkal beads, bringing them to life in vibrant colors and intricate details. Join us on this incredible artistic journey, celebrating the beauty and wonder of Pokémon. 🌈✨ Embrace the nostalgia and share in our passion for the art of beadwork. Let these adorable creatures ignite your imagination!

                     Pattern: GL2-0011


artkal perler beads 3d pokemon ivysaur and squirtle
 by Artkal Beads

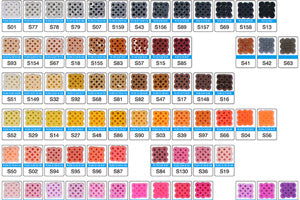
Color list and quantity:


GL2-0010 Squirtle:


Made by Midi Beads: S10*1685, S52*977, S57*396, S01*286, S81*49, S15*31, S101*10, S13*4, S146*4, S138*4, S02*3, S34*2


Made by Mini Beads: C19*1685, C10*977, C29*396, C01*286, C74*49, C30*31, C100*10, C02*4, C145*4, C137*4, C44*3, C06*2


GL2-0011 Ivysaur:


Made by Midi Beads: S45*3628, S130*369, S71*107, ST5*86, S129*40, S126*39, S124*24, S01*20, S87*9, S13*4, S85*4, S125*4, S34*2


Made by Mini Beads: C54*3628, C129*369, C86*107, C121*86, C128*40, C125*39, C123*24, C01*20, C76*9, C02*4, C59*4, C124*4, C57*2

Tips before making artworks


1. If you are new to make beads artworks or help your kids to create their own masterpieces, here are some helpful tips.

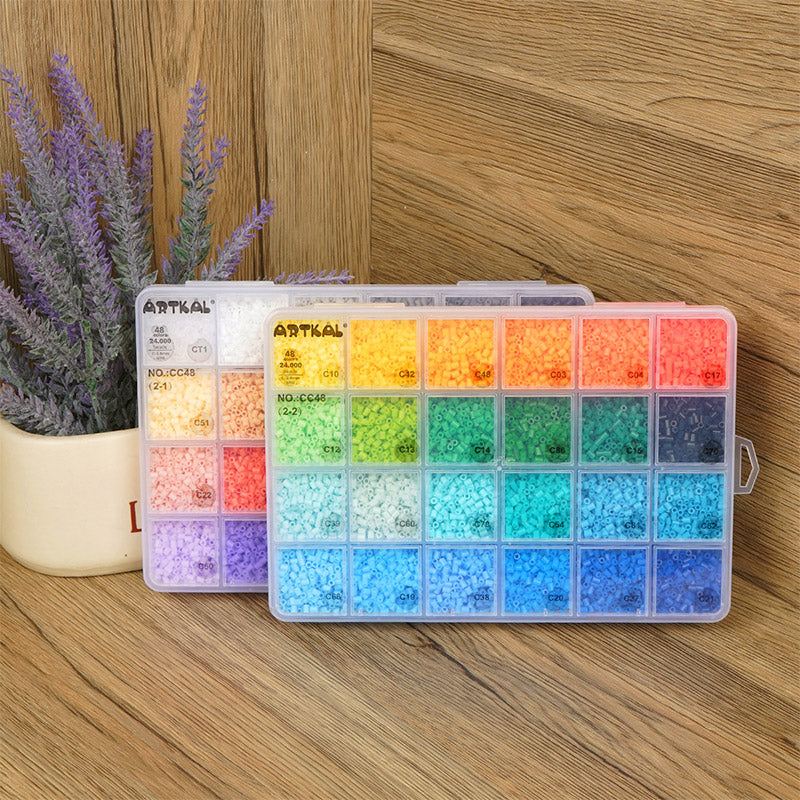
  • Select beads: There are two sizes to choose from: 5mm midi beads and 2.6mm mini beads. While mini beads may be too small and difficult for beginners and young artist, they are suitable for ages 12 and up.

    For beginners and kids, we recommend using the 5mm midi beads from our S series, as they are easier to work with and most people love this series.

  • Select pegboards: To bead with 5mm midi beads, it is important to use 5mm pegboards. These will be help you create the perfect design and ensure that your artwork comes out just the way you want it.

  • Select tweezers: Tweezers are an essential tools for beading, and it is important to choose a right ones for your need.

    For kids, we recommend using plastic tweezers, as they are safe and easy to use. If you are using tweezers yourself, we recommend our Stainless Steel Tweezers, as they are easy to handle and highly effective.

  • Selecting Ironing Supplies: Finally, when it comes to ironing artworks, you will need to choose between ironing paper and ironing film. To help you decide which one is right for you, we've provided an article that explains the differences between the two.  The different of ironing paper and ironing film.

2. If you are a beadartist, pls read about this one.

  • Midi beads lover: If you are midi beads lover and want to challenge yourself, we recommend trying our mini beads C series. These beads are smaller and intricate, making them perfect for creating detailed designs.

    However, if you prefer to stick with midi beads, our midi beads S series is also a great choice.

  • Mini beads lover: If you are a fan of mini beads, we recommend you our mini beads C series. However, if you prefer softer mini beads, our mini beads A series may be a better fit for you.

  • In conclusion, selecting the right beads is essential to create beautiful and intricate artworks that you can proud of. By following these tips, you can choose the right beads for your skill level and artistic preferences, and create stunning masterpieces that showcase your creativity and skill.

How to make your own 3D Pokemon - Ivysaur and Squirtle?


Step 1: Get Ready with Artkal Beads and Accessories, Make sure you have everything you need before you begin.

  • Pattern: Download it
  • Artkal Beads: select the colors from pattern
  • Tools: Pegboards, Tweezers, Ironing paper/ ironing film, Iron

Step 2: Create Your Design on the Pegboards


Once you have your supplies ready, it's time to create your design. Using the pegboards, place the beads according to the pattern. Take your time and make sure everything is in the right place. 

Step 3: Iron Your Design

Once your design is complete, cover it with the ironing paper or film. With the iron on a low setting, gently iron the beads in a circular motion for a few seconds to fuse them together evenly.

Step 4: Peel and Repeat

Once you've ironed one side, peel off the ironing paper and flip the design over. Repeat step 3 on the other side. Your pegboard and ironing paper/film are reusable, so you can make more artworks in the future!

Step 5: Enjoy

After you've finished ironing, let your design cool and put the project under a book or something heavy to ensure it stays flat. Hold them together. And that's it! Your beautiful pixel art is complete and ready to enjoy.
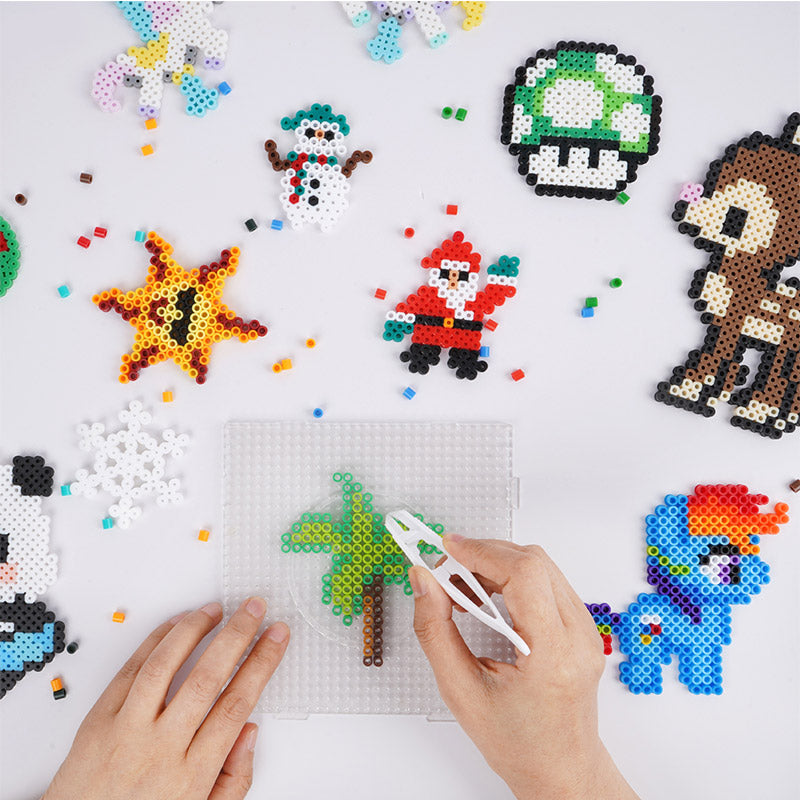
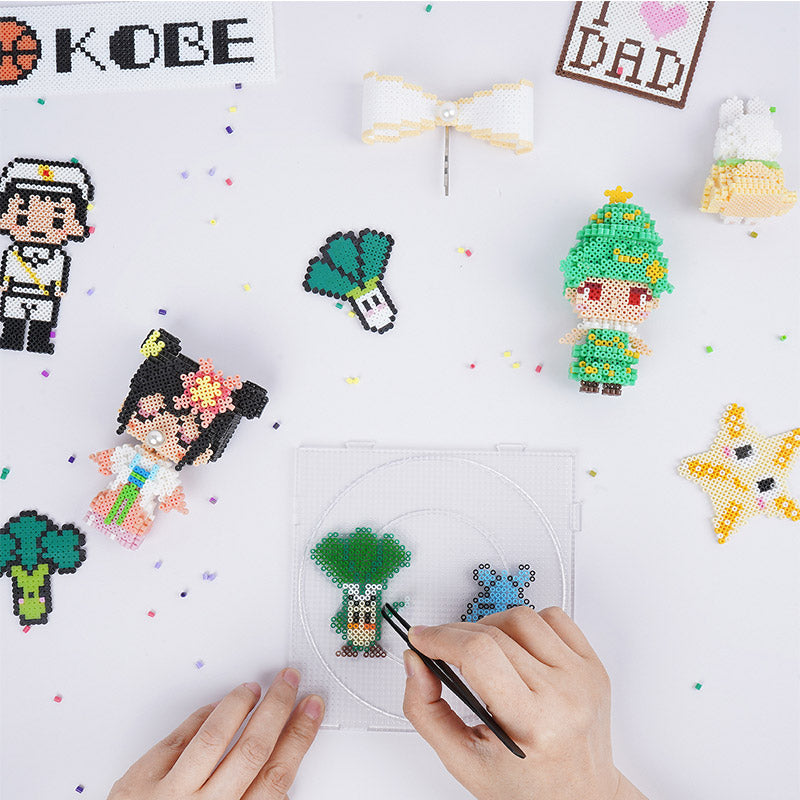
More project to explore


Leave a comment

Please note, comments need to be approved before they are published.

    1 out of ...