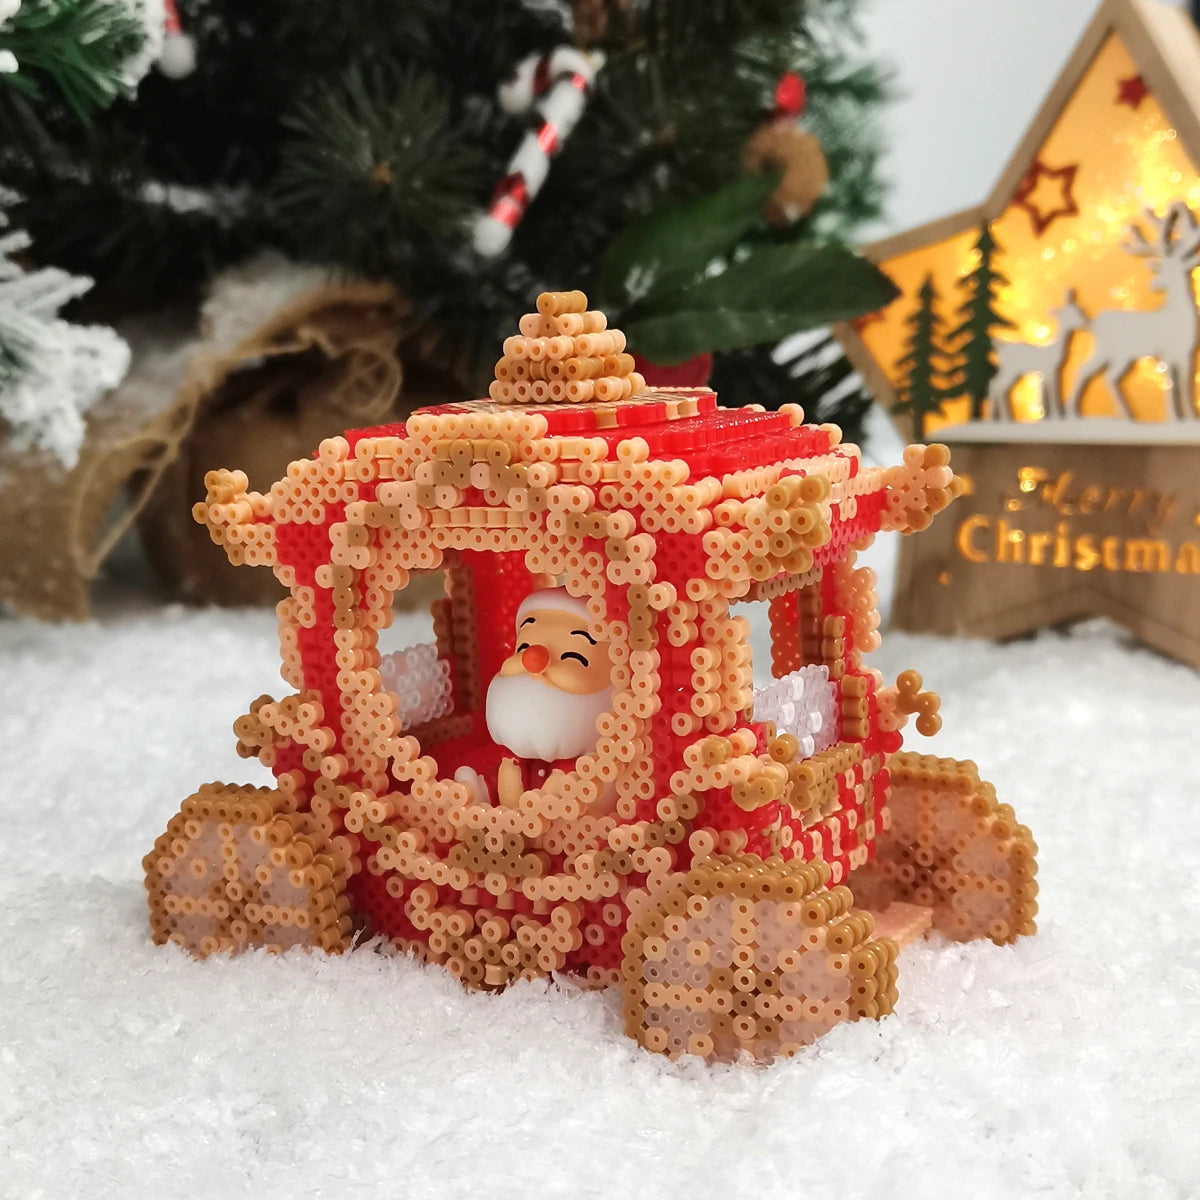


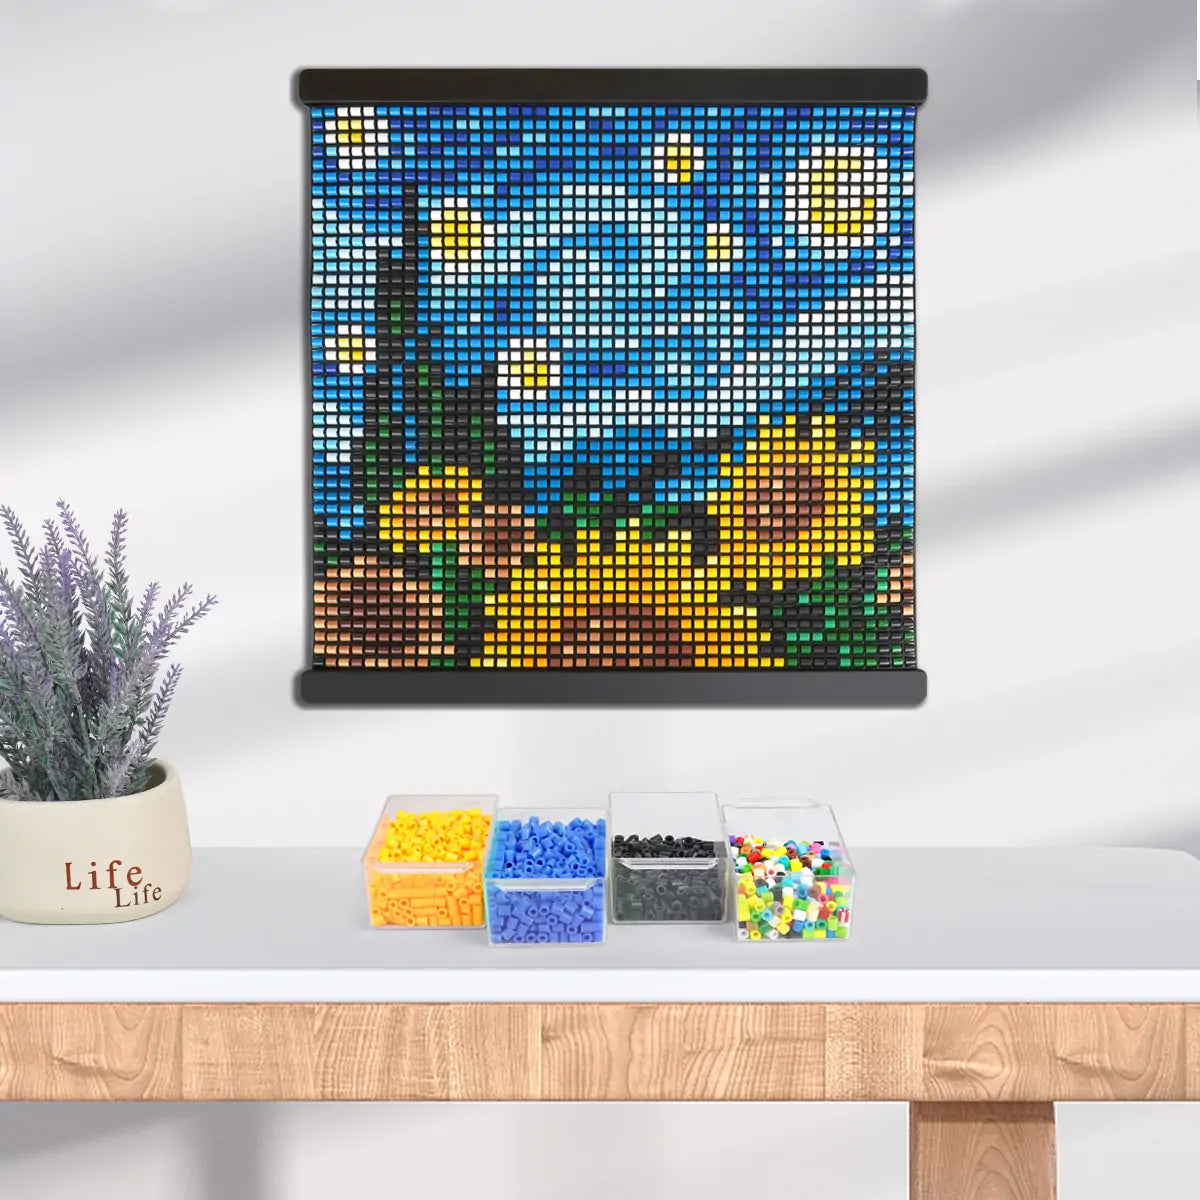

Christmas Snow Globes
Contents
Christmas Snow globes
Free Pattern
With nice Christmas music in the background I made these cute snow globes ☃️
I used the beads of ARTKAL to make this nice Christmas decoration 🌟! Enjoy 🙌!!
Introduction of the designer:
Her instagram: creative.with.perlerbeads
Her website: creatiefmetstrijkkralen.jouwweb.nl

by creative.with.perlerbead
Tips before making artworks
1. If you are beginner or help your kids to select the toys, pls read about this one.
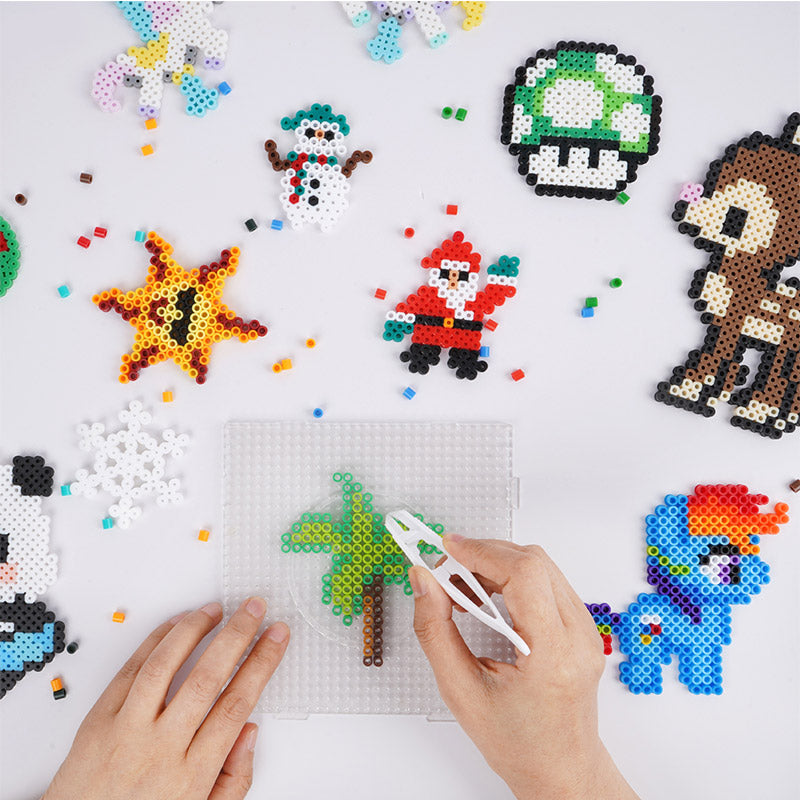
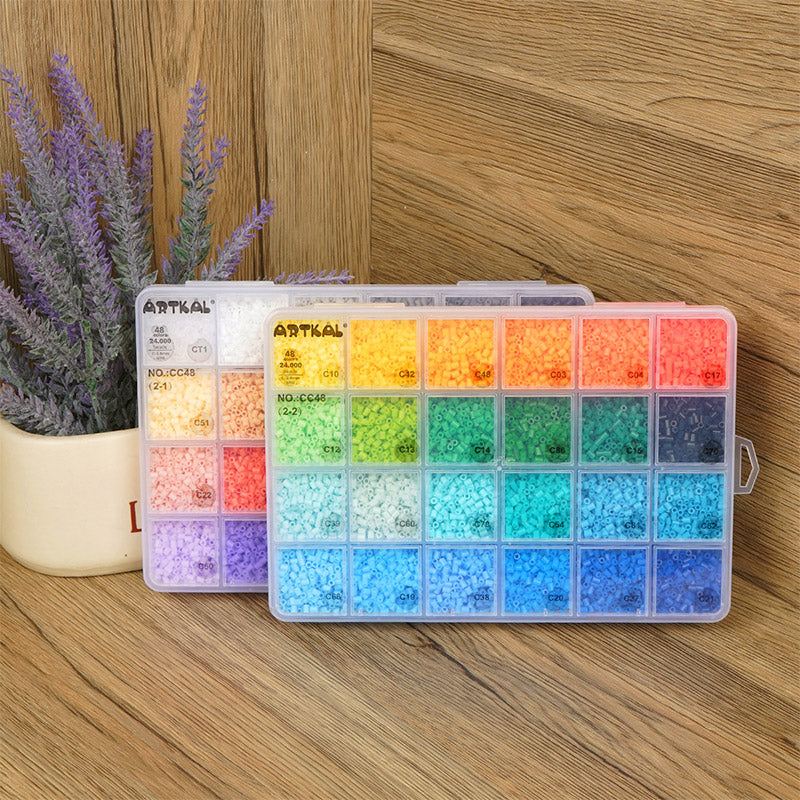
- Select beads: We have two size of the beads, 5mm midi beads and 2.6mm mini beads. Mini beads are too small to difficult for beginner and kids. They are suitable for 12 year-old and up. We recommend you midi beads S series. Most people love this series.
- Select pegboards: Use the 5mm pegboards to bead 5mm midi beads.
- Select tweezers: We recommend plastic tweezers for the kids. It is safe. If you use it by yourself, we recommend our Stainless Steel Tweezers. It is easy and useful.
- Select ironing paper or ironing film? Here is the an article of it. The different of ironing paper and ironing film.
2. If you are a beadartist, read about this one.
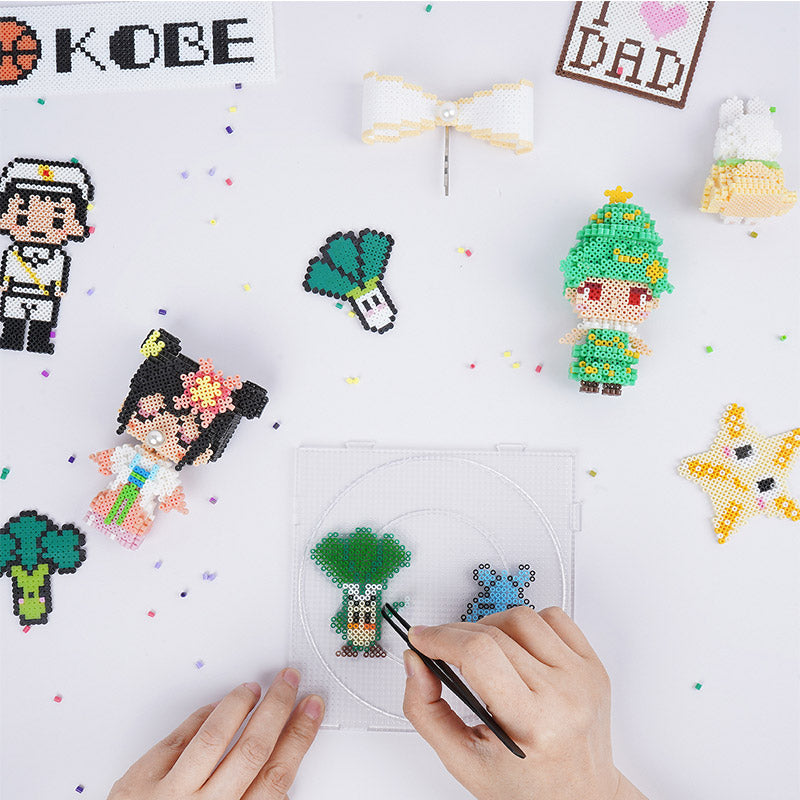
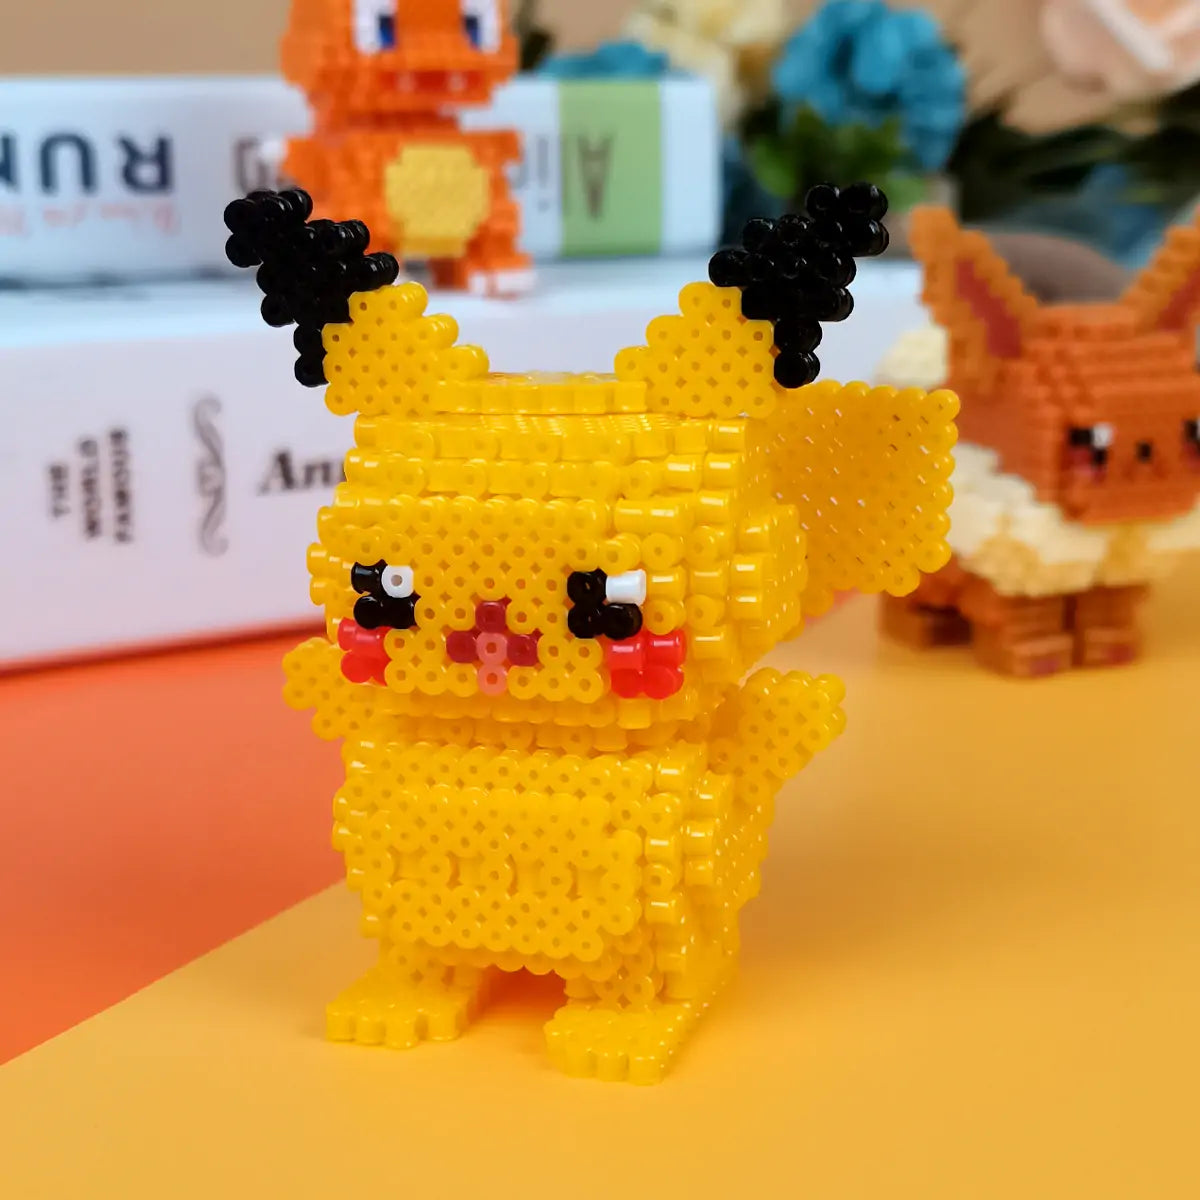
- Midi beads lover: If you want to challenge it, we recommend you use our mini beads C series. The artwork in photo are made by midi beads S series. If you don't want to change it, midi beads S series is also good for you.
- Mini beads lover: The original artworks are made by hard midi beads S series. Most people also love mini C series. We recommend it to you. If you love soft mini beads, mini A series is better for you.
How to make this Christmas Snow Globes?
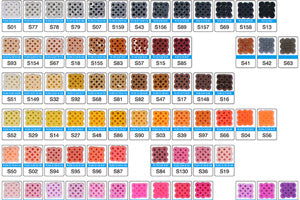
Step 1: Download the free pattern and prepare for Artkal Beads and accessories
- Artkal Beads: select the colors from pattern
- Tools: Pegboards, Tweezers, Ironing paper/ ironing film, Iron
Step 2: Now, place all the beads for the design with square pegboard
Step 3: Cover the completed design with the ironing paper or ironing film. Keeping the iron level, gently iron the beads in a circular motion for about seconds to fuse the beads evenly.
Step 4: Peel off the ironing paper and lift your design from the pegboard. Flip the design over and repeat step #3. Your pegboard and ironing paper / ironing film are reusable.
Step 5: Put the project under the book or something heavy after you iron it. Once the design is cool, it finishes.
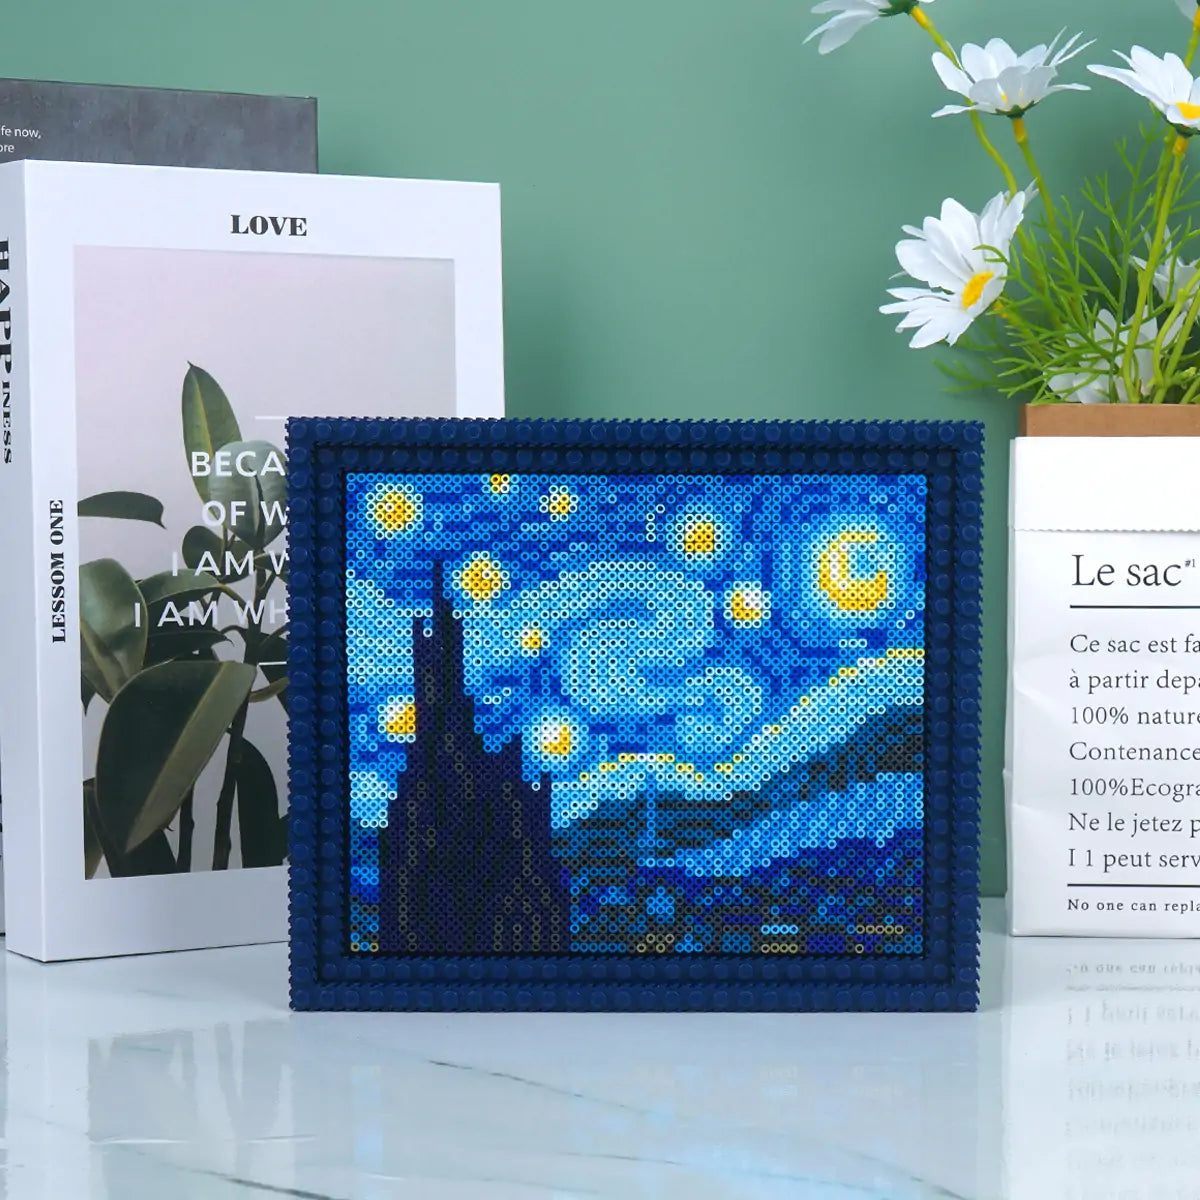
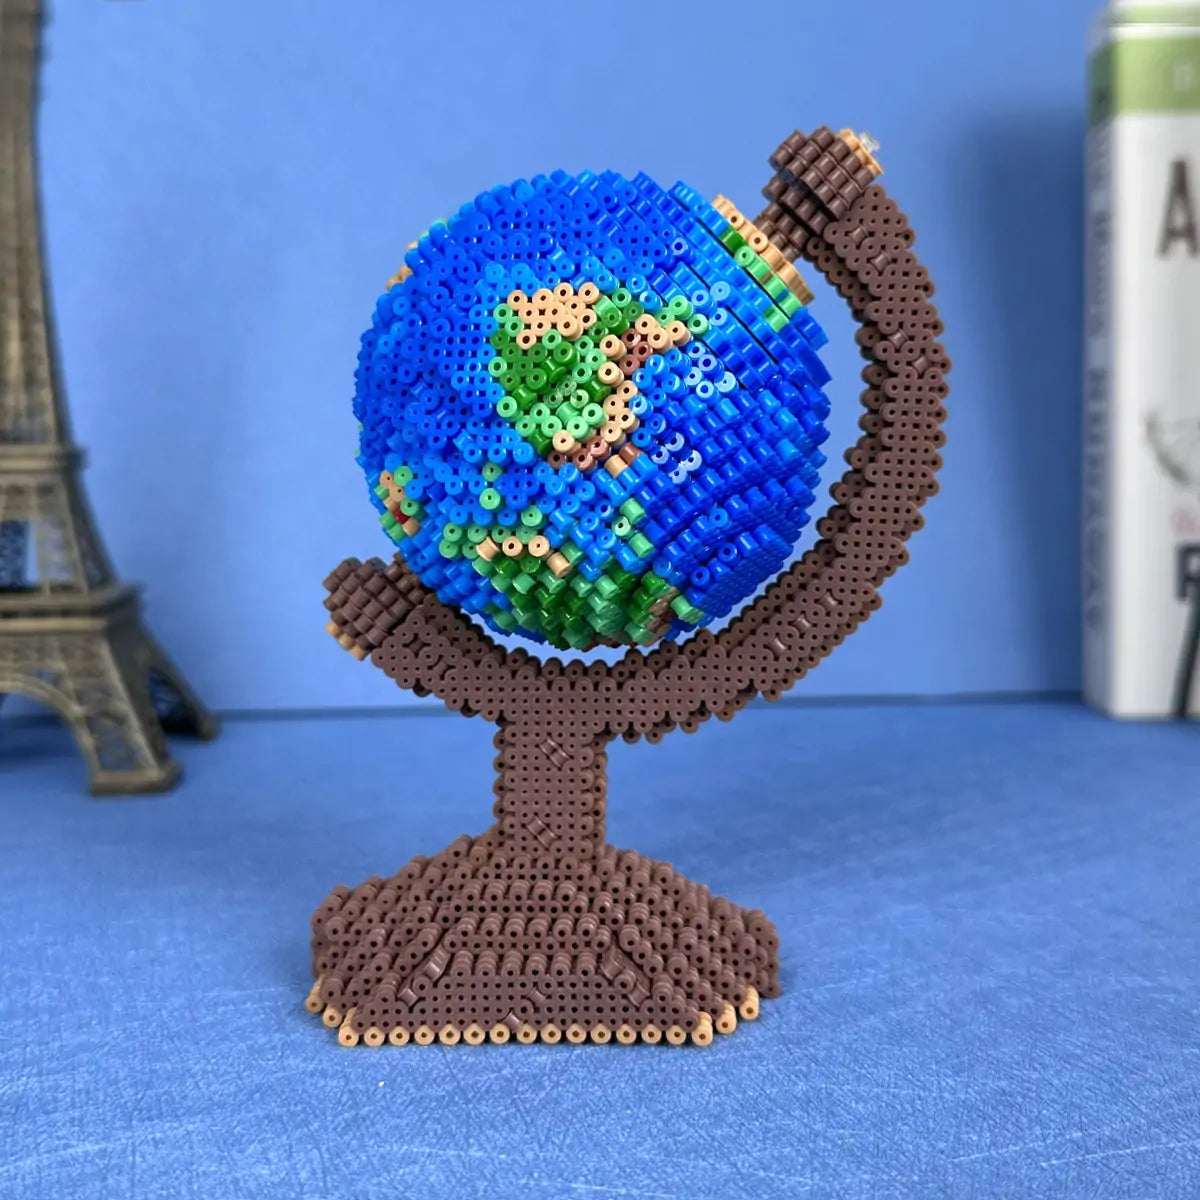
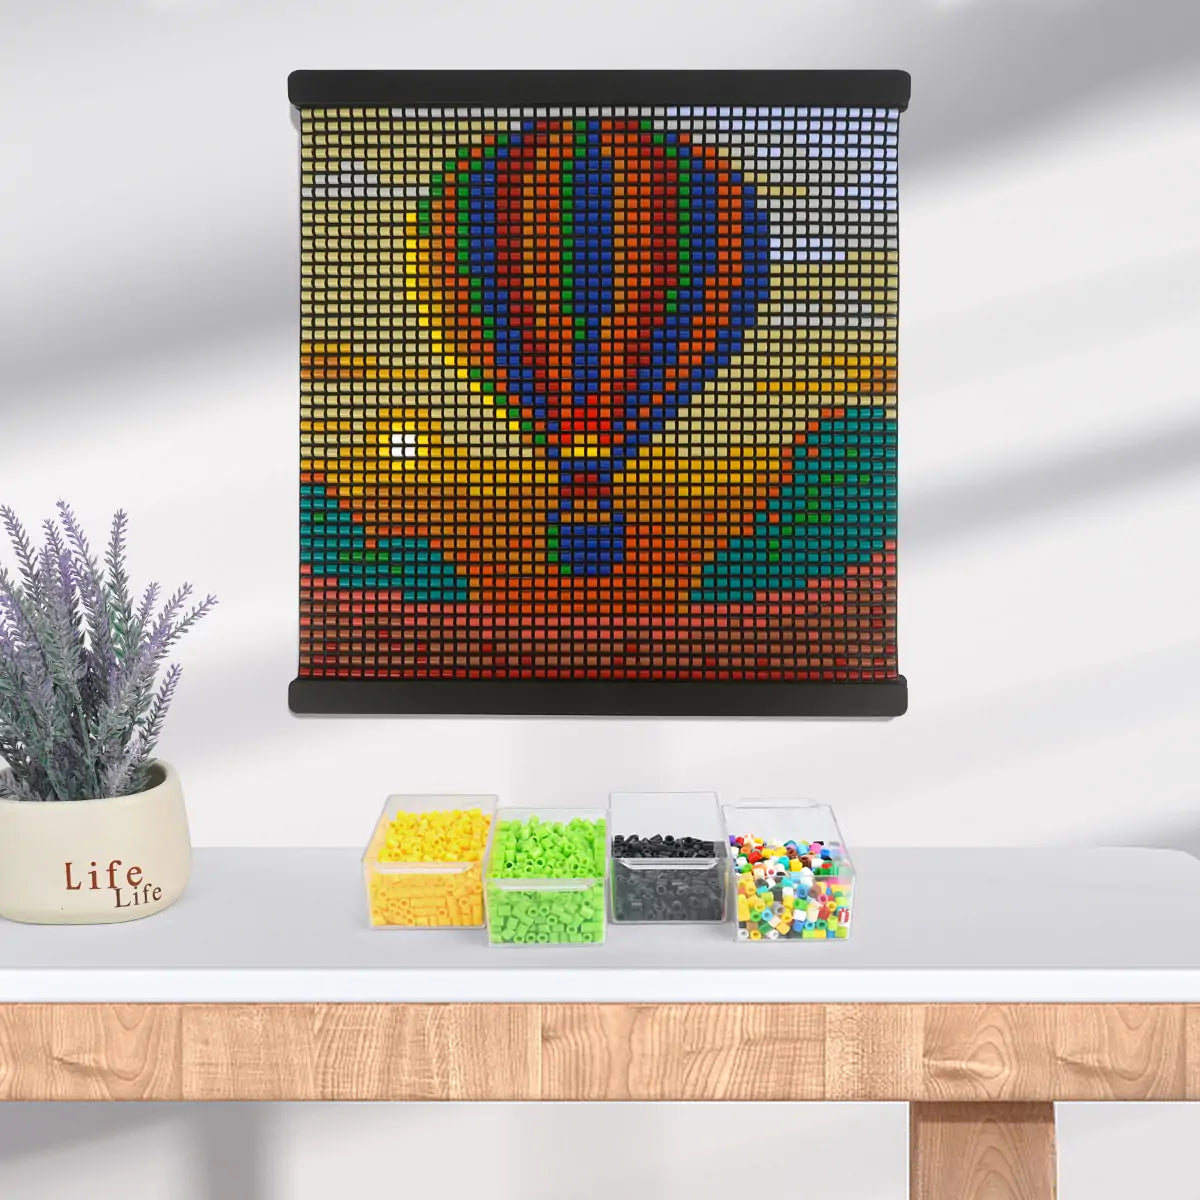
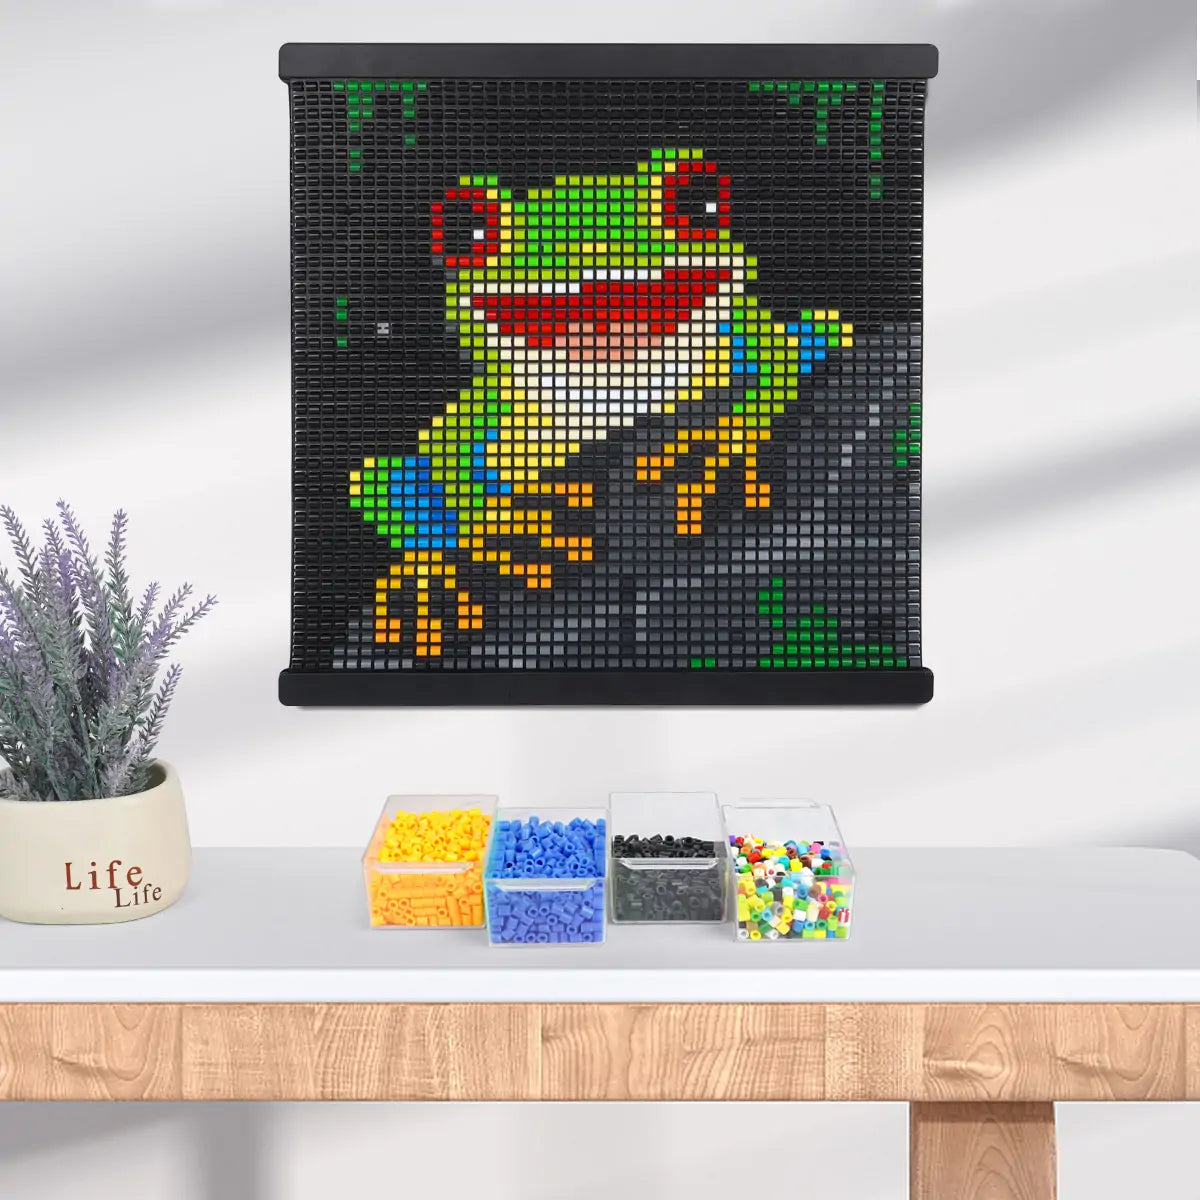
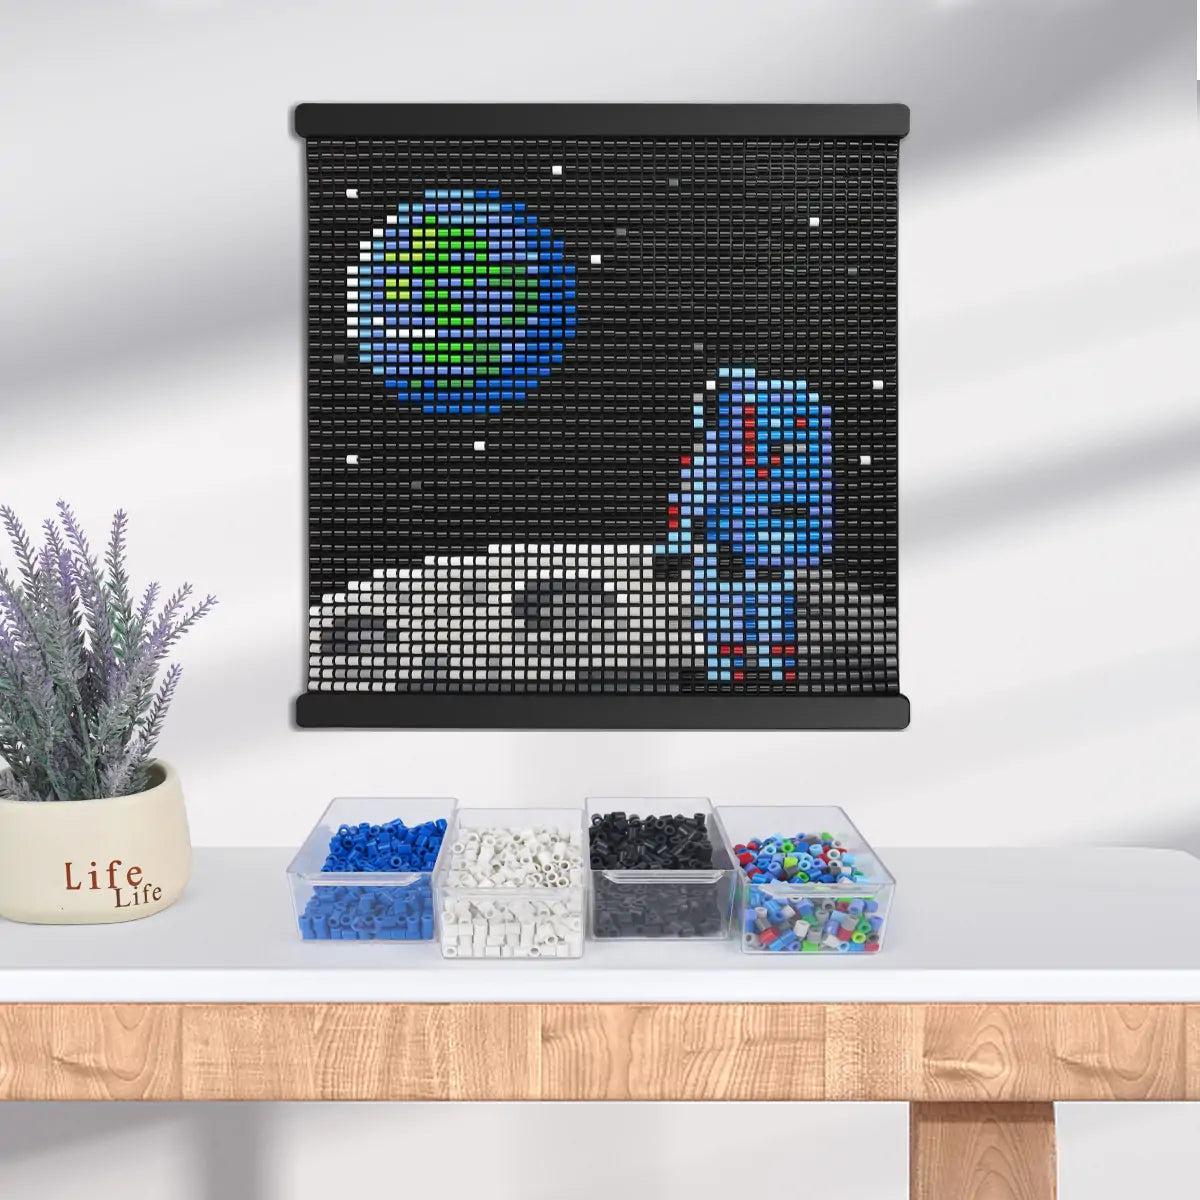
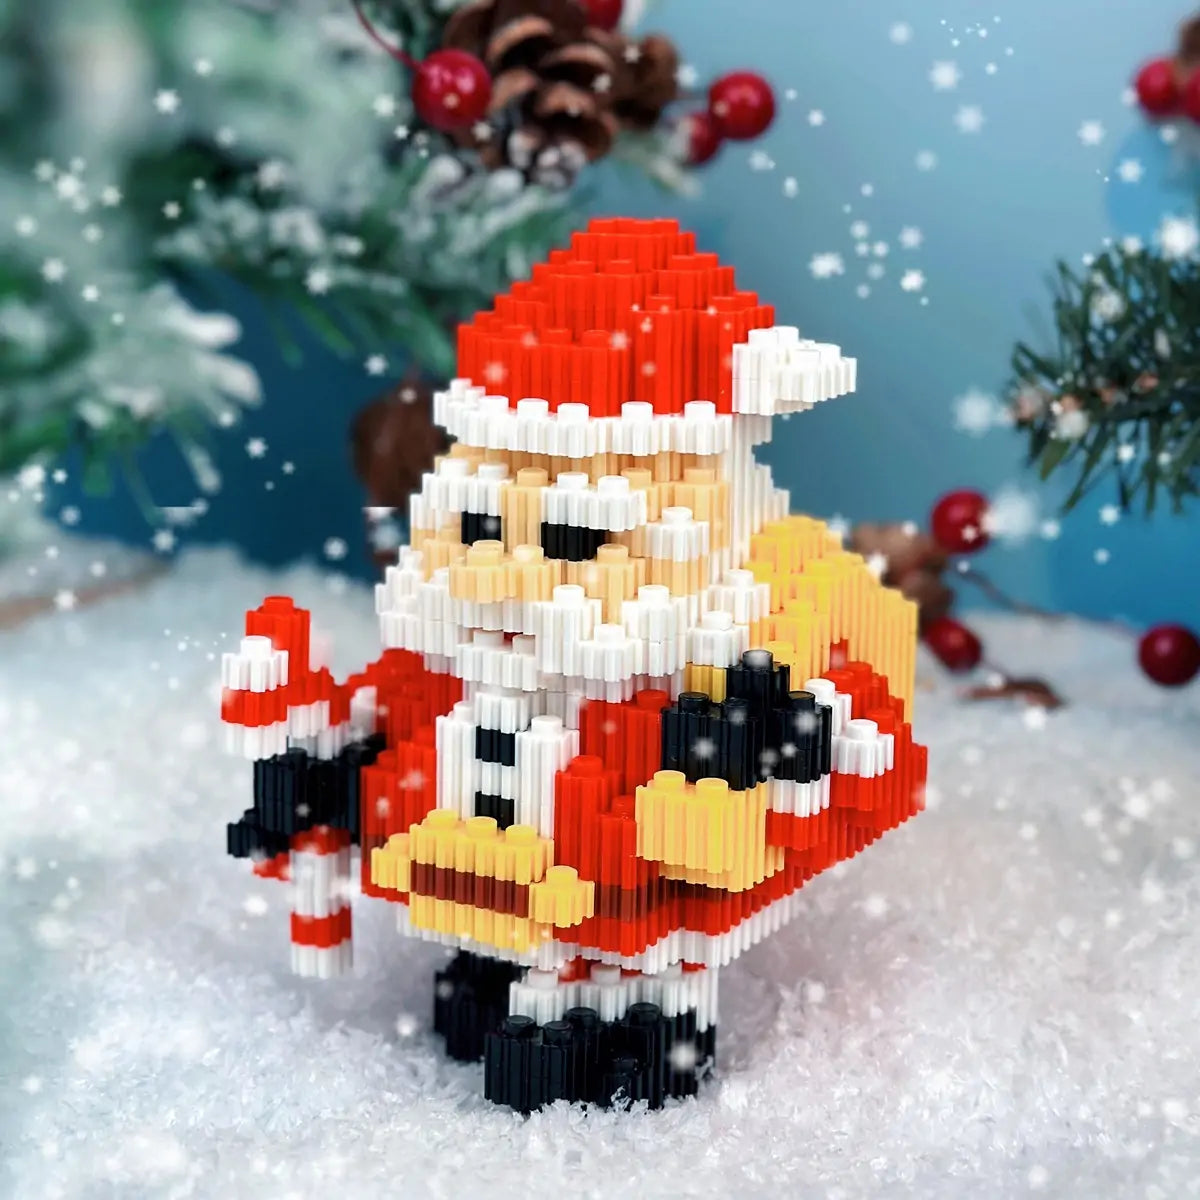
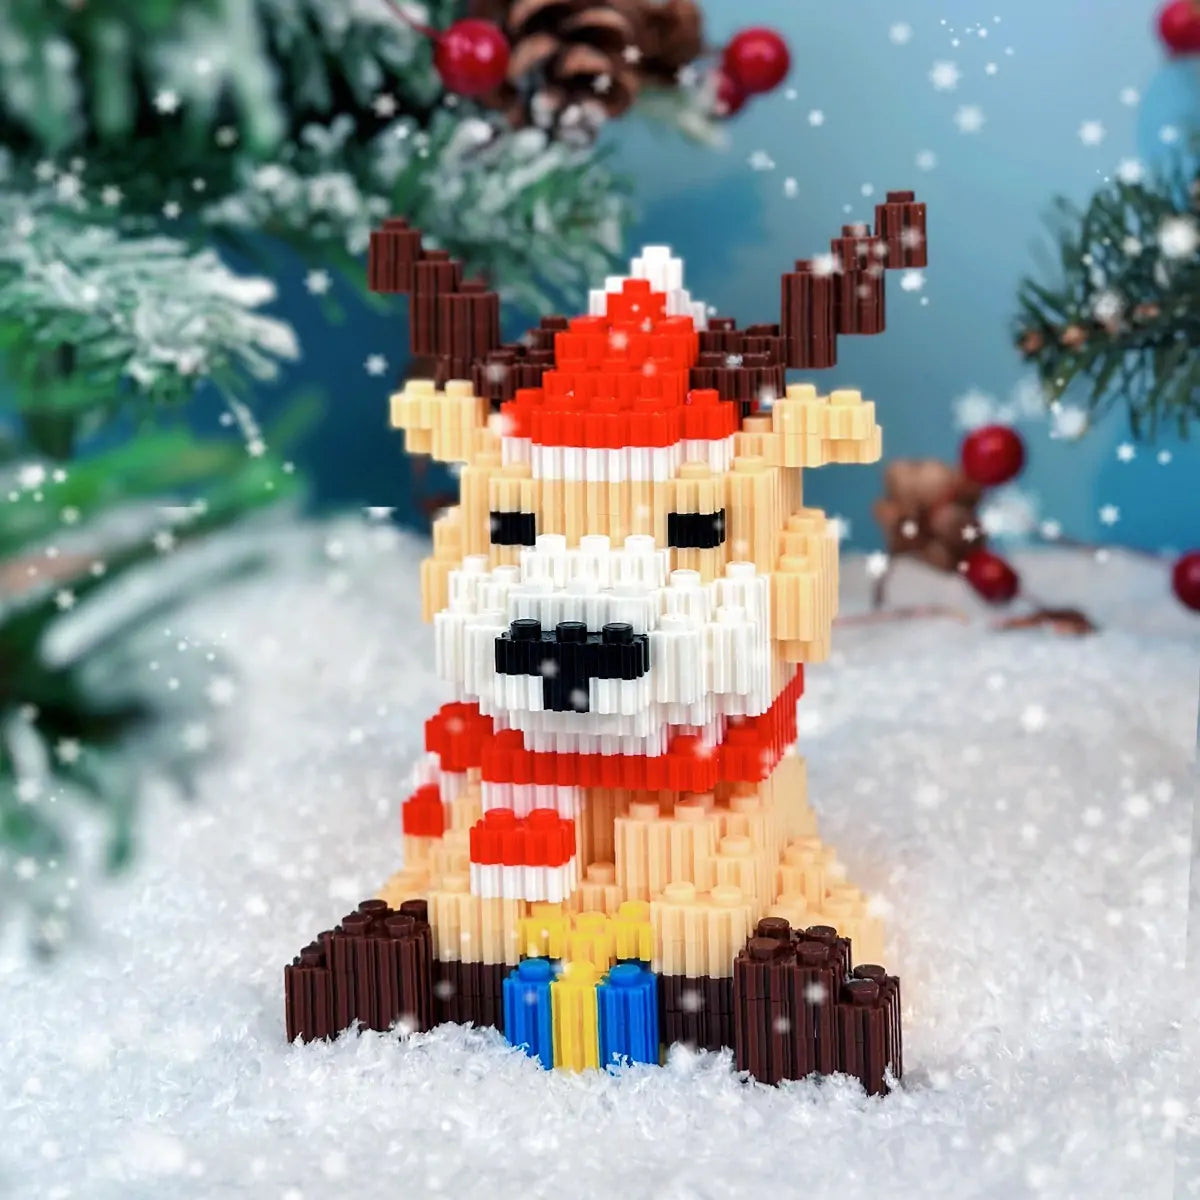
More project to explore


- Choosing a selection results in a full page refresh.